Tuesday, April 9, 2024

Bokashi Composting or Pickling!!


Initiated this post - Fall of 2019

I had been to India recently after a long gap of 4 years! My cousin introduced me to Bokashi bin that she had at her house and was being used regularly. She did give me an overview and what stuck with me were few key factors....The bin can stay indoors, no bad odours, can put even cooked food and dairy products. Since I live in 6B USDA zone this bin was apt for my winter composting. Ordered "SCD Probiotics All Season Indoor Bokashi Bin" from Amazon for $46. It arrived pretty quick!!

Got this bin with a lid and a bottom pan (separates scraps and the liquid collected) and a bag of Bokashi Bran. Had to wait few days before I started dumping in chopped veggie scraps. Anything that is chopped pickles faster! I started putting scraps and a spoonful of bran everytime I added and pressed firmly with another plastic plate(does not come with the bin) to cover the scraps. My cousin gave this tip to have another plate to have successful anaerobic environment. So in about 10-14 days got a tablespoon full of tea which I added to a gallon of water to use with indoor plants.  

Update : Spring of 2024

I have been using this as my compost bin for the winter months. Absolutely odorless!! At the end of Spring season the stuff is moved to the outdoor compost bin. I keep this bin free in Summer since I have the access to the outside bin.


The plastic plate to cover

I collect the tea once a month(3-4 tbsp) and use them with diluted water on my indoor plants. Never burnt any plant. The tea stinks!!

Monday, September 28, 2020

Making KOMBUCHA at home!!

 There was nothing much happening in this year of Covid, so needed something interesting to be done. My neighborhood friend asked if any of us wanted to make Kombucha at home as she was ready to offer 'SCOBY symbiotic culture of bacteria and yeast', its a cluture that is needed to make Kombucha at home. 

Another drink with fancy name: Since its a fermented drink loaded with pro-biotics, it aids in digestion and gut health. Studies have shown it can assist in the treatment of arthritis, depression and heart burn. Its is great for liver detoxification, improves pancreas function, increases energy by boosting immune system and can be used to treat Candida.

How much to drink: Its recommened to drink 1 to 3 times daily with 8 fl oz per serving. Currently we just drink once a day around 4 fl oz per serving. We will gradually increase.


Close up of SCOBY!!

My friend made a video and gave me a mason jar with black tea kombucha along with SCOBY in it. Glad to have such generous neighborhood friends! She gave me the fresh batch so had to let it ferment for 6-7 days. The first sip on the 6th day was really so good! We waited a day for the sugar sweetness to subside. It was really very good with kind of rose smell to the tea. My hubby and I instantly fell in love with the taste and smell. Decided to make it a routine drink for us. Our household has no coffee or tea drinkers so had to do some research on what kind of teas goes well. Any kind of Black Tea, Green Tea, White Tea and Oolong Teas works best for making Kombucha! Since my body can't handle caffine, I opted for decaffinated Balck Tea.


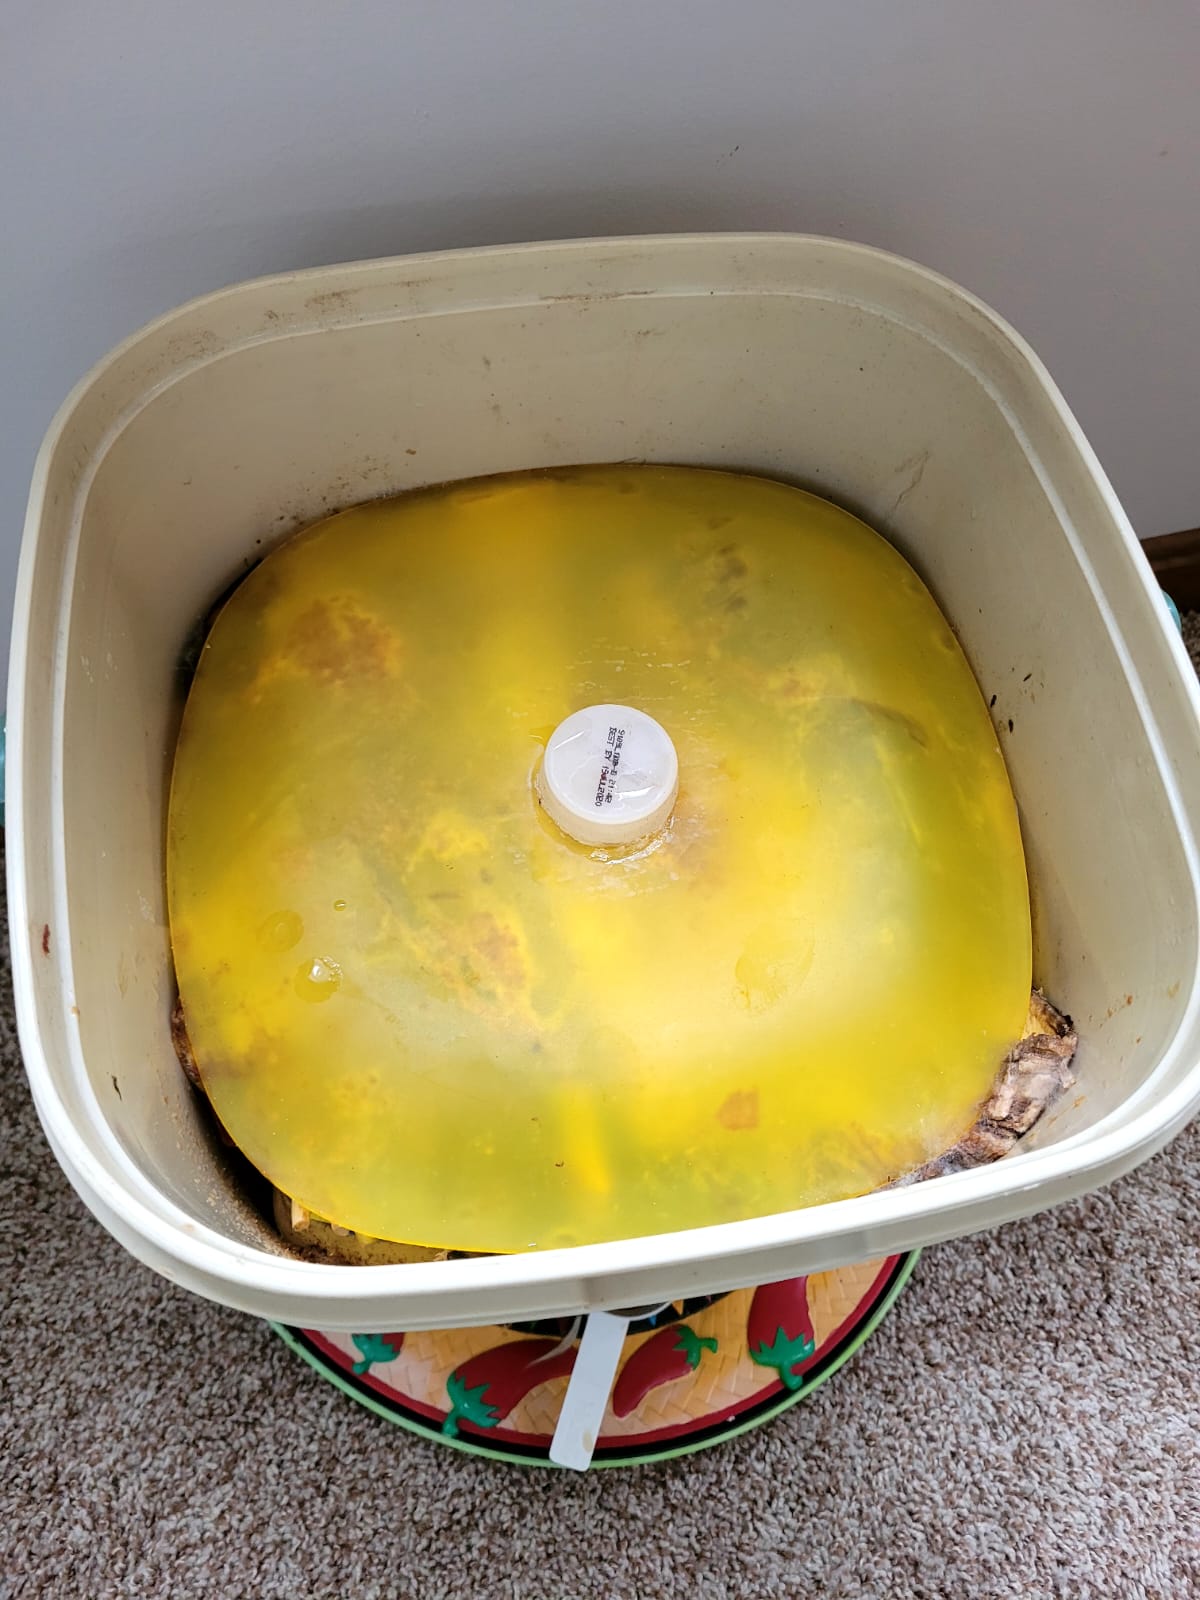
On the 6th day of fermentation, this is how it looks👇. SCOBY is on the top of the bottle. Looks moldy but its still healthy. 


There are several layers of SCOBY 👇, the Kombucha is of great taste when the SCOBY isn't too thin or thick. 1/2 inch is the right size to make this 2L(wide mouthed Mason jar) bottole of Kombucha. If you see the SOCBY growing in size, you can either discard extra layers or share with a friend to make fresh batch. I started another batch of green tea Kombucha with the extra layers.


How to prepare Kombucha: Boil 3 cups of water and add 1/2 cup light brown sugar(white sugar works fine). Dunk 2 tea bags for 15 min. Keep a washed mason jar with wide mouth ready, ensure there are no soap traces inside. This can kill the SCOBY easily. The prepared tea should be cooled to lukewarm. Add the prepared tea to empty mason jar. Introduce SOCBY by gently adding in along with 1/2 cup of old kombucha. Ensure not to use metal spoons for long, quick dip and insert is fine. Cover the bottle with coffee filter sealed by a loose rubberband. I write the start date and end date on these, that helps me to keep tab on when to make fresh batch. Once this tea is ready on 30th, I will move the ready Kombucha to another bottle by retaining SCOBY and 1/2 cup tea for next batch.


Wednesday, April 17, 2019

Homemade Chic Plant Stand

I think having a plant stand indoor at different levels accentuates the living space! Since I am more of a in-store shopper than online, I like to see and feel things that I like to buy. I have seen many metal plant stands at TjMaxx and Home Goods but none of them were appealing to me. Then few days back saw a DIY video on how one can make plant stand using dowels and concrete. There are many versions available, I always combine different ideas into mine!! In one video, the dowels are tied with a string with equidistant and rested in the concrete mix and taped but in another one they used line level(tool) to check if they are equidistant.

Since I pushed my other project(making tree faces) away for a while now, this plant stand project took precedence!!

Went to Home Depot, asked a staff to help me pick the right concrete that might work. So I opted for Quikrete Commercial Grade ($4 a big bag of 80 lbs). Staff offered to get a crate and load this mix onto crate. It was impossible for me to move this bag from crate onto my car so if you are of my stature(under 135 pounds) then get help from staff!! After getting back home, I ripped the top part of the bag and moved them into different plastic bags for ease of moving and storage.


Then I purchased 2 wooden dowels (7/8 of an inch) and asked staff to cut each of them into 3 equal parts. So they were all 16 inch tall dowels of 6 in total. I did watch few videos on doing this plant stand where they end up tearing bucket or the container used. Keeping that in mind, I used plastic cake cover that we normally get from store to cover the cake!! It was a cover for an 8 inch Birthday Cake that we ordered last week for my daughter's Birthday!! I sometimes use them as plant saucer under few pots too!! 


 I added roughly about 2.5 lbs of concrete mix into this cake cover and mixed with water. Did not measure the water though! Should be of Idli batter consistency :-) I stuck in the dowels little away from center. Gently tap the mix from outside to let the air bubbles pop out. I was very much concerned about its right placement, else I would end up having woobly plant stand. I had line/surface level(tool) to measure its distance. Basically they should be equidistant from one another. I then secured each of the dowels onto cover with painter's tape. I wanted to reuse the cake cover so had to give one day time to cure. This morning when tapped from all sides the stand came out clean.


This mix mainly had tons of small pebbles and cement, so was expecting uneven surface on top but to my surprise the top was super smooth. 


Since I had left over paints, I used them to give it a better look!! I can make around 30 more of these plant stands with the concrete left :-) 


Sunday, April 14, 2019

Recycled Hanging Tire Planter


I was hoarding this single Tire for more than a year now, planning to put this to some good use. Finally today my old tire got a make over!! My neighbor complimented saying "It looks beautiful, great job".


A year of contemplation has gone into what was created today(thankfully I did not think of any other project I meant)!! I wanted to have a stacked planter in the center of my front yard. That needed more tires to hoard, but who would give it to me for free! I accidentally bumped into some pictures on Pinterest that led me to the blog which inspired me to create this.

It would be unfair not to give credit to https://diyshowoff.com/2013/07/02/diy-tire-planter-tutorial/ for helping me rescue this tire that would otherwise end up in landfill.

However not all steps were followed. I skipped adding styrofoam peanuts as I was lazy to look for them in my basement. Then I consoled myself saying anyways there isn't too much space to have peanuts and soil both together inside tire. I guess it was mentioned in tutorial to help drain water better. Let's see how my tire planter will fair over summer months.


Items Needed:
Tire
Krylon Spray Paint 2 small cans(I used Red Pepper from Joann's )
Drilling machine and 1/4 inch bit, of course a strong muscle needed, used Hubby (they come handy sometimes)
Potting soil
Weed Barrier Fabric
Annuals Plants of your choice( Petunias and Impatients are probably best)
Chain (20 ft long) from Menards (max capacity load of upto 155 lbs)
2 S stainless steel hooks

Method:
1. I washed my tire with soap and water and allowed it to dry outside for an hour or so
2. I used cardboard boxes flattened and placed this tire over two bricks so I could spray paint them outdoors.
3. I turned the other side of the tire and painted, I refrained not painting it inside.
4. I let it air dry for a day outdoors.
5. Hubby drilled 6 holes on the bottom of the tire, do the drilling from inside rather than outside. This can be done by keep tire on a cement step and extending only the drilling part out of the step. Makes life easier for the person who is drilling :-)
6. I picked a tree from where this tire would suspend. I picked a biggest tree in my front yard that had a slight horizontal branch. I made sure it did not hit the main branch when there was a heavy breeze.
7. I passed one end of the chain through a old bicycle tube that goes around tree branch. This helps in not leaving any marks or bruise on the tree branch.
8. I used one stainless steel hook to join the chain around a tree branch.
9. I then positioned where my tire would land and removed the extra links from the chain. Hubby did this for me! Used second S hook to hold the tire and the other end.
10. Hubby drilled 6 holes on the bottom of the tire, do the drilling from inside rather than outside. This can be done by keep tire on a cement step and extending only the drilling part out of the step. Makes life easier for the person who is drilling :-)
11. Cut out a weed barrier fabric and lay it inside, add the potting mix and stuff your choice of plants. I had combination of annuals and perennials.

A guy at Menards was so thrilled listening to my project. He spent good half hour explaining me on how to successfully suspend a tire with all metal fitting that won't rust. His inputs will be used for future projects but for now we did not use nuts/bolts as he advised instead S hooks!!

Please leave a comment if you end up doing this project!!


Tuesday, April 2, 2019

My Indoor Plant Arrangements

Indoor planting is in full bloom for me in winter months. I hunt for rare ones, with new space my list of must have only grew :-)

Since we have two living spaces and tend to spend more time, I wanted my tropical plants to live and lighten up the area.

I have one corner in living room dedicated for plants and by introducing IKEA white planter it has accentuated the greenery!! I have a chain sawed Bear that we picked up from Wisconsin trip last year to add some zoological element into it. I have a Mass Cane, Darcenea (Dragon Tree), Dwarf Banana Plant(that I separated from Mother two days ago) and the White Planter has bunch of different varieties of Croton, Ponytail Palm, Dieffenbachia, Mini Darcenea and Corn Stalk Darcenea. I water them as and when top soil dries(typically once a week in Winter).


I have arranged 3 Kokedamas(wrapped up with live moss) on the black ottoman consisting of Fern and Peperomia.


I did something similar to our family room in one corner but this time I changed it to hanging lanterns that I picked up from Pier 1 Imports. I have received several compliments for its display!! I have two Mango trees (that I started from seeds), Majesty Palm and a Pot consisting of Stromanthe, Prayer Plant, Ti Plant and Oyster Plant.


The mantle above the fire place looked bare so my plants came to rescue!! I have Pothos (had it for more than 3 years), Anthurium, Boxwood Topiary and Wandering Jew plant.


The other corner of family room has Dwarf Banana Tree(Mother), Ivy Plant and a Fiddle Leaf Fig Tree.


Lastly my bed room has very minimal plant arrangement. I only have Ponytail Palms, Snake Plants and Money Tree.


My Kitchen has few herbs and Orchid plant on the window sill. I also have hanging teardrop succulents living.


Lastly I have a vintage terrarium that I still struggle to keep plants alive. Really wonder how they have designed such horrible product and my hubby purchased it for my milestone birthday!! I have sealed any openings and the little window with a silicone sealant and spray once in 15 days. I have  mini Bromeliad and Parsley Aralia living with real moss.


My Wish List:
Curry Leaf (alive)
Mango (alive)
Plantain (alive)
Bay Leaf (alive)
Goji Berry (alive)
Grapes (alive)
Cuban Oregano (alive)
Jasmine (alive)
Betal Leaf (failed to grow twice)
Dwarf Meyer Lemon (yet to arrive)
Dwarf Calamondin Orange (yet to arrive)
Dwarf Pacas Coffee (yet to arrive)
Dwarf Pomegranate (yet to arrive)
Fiddle Leaf Fig (alive)
Mass Cane (alive)
Dragon Plant or Dracaena Marginata (alive)
Pony Tail Palm (alive)
Majesty Palm (alive)
Anthurium Plant (alive)
Snake Plant (alive)
Peace Lily (need to buy)
Pothos (alive)
Wandering Jew Plant (alive)
Ivy (alive)
Topiary
Kokedoma


I have a mud room that I have converted into a plant nursery :-)


Wednesday, August 29, 2018

Quest for right Shampoo and a Conditioner

Last week I started my quest to have right Shampoo and Conditioner that would lessen my seborric dermatitis flare ups!! I started off with few checklists that I wanted my new S+C to possess. Essentially, it needed to be plant based with very few chemicals. More natural, all the more better!!!

I have used Aveda since 2011 and my urge to change came from the recent SD flare ups that has increased over the years. I am ditching Aveda for now!!!

I started off with Avalon Organics from Costco. Everything seemed perfect especially the price and the availability. The only thing that did not work is the product itself!! Shampoo was good but conditioner was a total let down. It simply did not moisturize my hair :-( I have thick black wavy hair. I can be a very tough client to please when it comes to haircare products. So the Avalon product went into my car boot for a quick return.

Next came from CVS called "Not Your Mother's Naturals", conditioner failed to impress me!! Off I went to return, on the way back picked Mielle Organics White Peony Leave-In Conditioner. I still needed a good shampoo. After extensive web research and reviews, I decided to sample the shampoo bars from Chagrin Valley Soap company!! Since it is Cleveland based family owned business felt I must give it a try as I live in Ohio too :-) Buy local whenever possible is my motto!! The coolest thing about them is they offer sample size shampoo bars so ordered 6 different kinds and they are totally plant based. The shipping wasn't free but it was fast!!! I fell in love with Butterbar Conditioner with the first use. Although they say conditioner isn't needed but I needed one. So I use the Mielle Organics leave in conditioner after shower and this combo is working for me!! Must say this sample size bars lasts really long and they lather up pretty fast. For now, I have my favs!!!


Thursday, May 31, 2018

Recycled Planters!!

There's an old saying, “one man's trash is another man's treasure”!! I lived up to it to certain extent :-) Spring is the season where people clean up thier garage/sheds and all unusable items are left at curb side for anyone to pick. I normally don't pick anything for our indoor use. My neighbor had left a nice crate out, so an idea came to recycle that.

I cleaned the crate and placed a heavy duty plastic sheet with holes for protecting the soil. At the openings in the middle, had tucked few petunia plants. Topped with potting mix and later had my perennial herbs in them. Well the herbs lasted only that season. None of them came back next spring except Chives. My crate did not make it to next spring. Guess the harsh winter left it battered.


2016 Spring
2016 Summer
 
Perennial herbs


I wanted a long lasting planter so last Spring my other neighbor left the Charcoal grill at the curbside. My hubby dear towed it to my garden and I let that sit for a month in my shed. We had a brand new one ordered and I knew it came with drain holes, so that made easy to turn it into a planter. I punctured few holes in the yougurt lid and placed at the bottom for water to drain and covered it with potting soil. I started with few flowering plants and then herbs around. It was easy to move around since it came with wheels. 


2017 Spring
Abandoned grill


2017 Spring/Summer
2018 Spring/Summer

Since it has survived one winter, it gives me hope!!
Before recycling the grill, tried my hands making Jeans planter. It did not survive winter!!